DIY Kimchi Recipe

Aside from judging pickles and standing in line for hours at various street food vendors at last year's Bay Area Eat Real Fest, I also attended the adjunct Eat Real Lit Fest. It featured a wide range of brainy foodies alternately reading from their works or extemporizing on the topic of street food and other burgeoning trends.
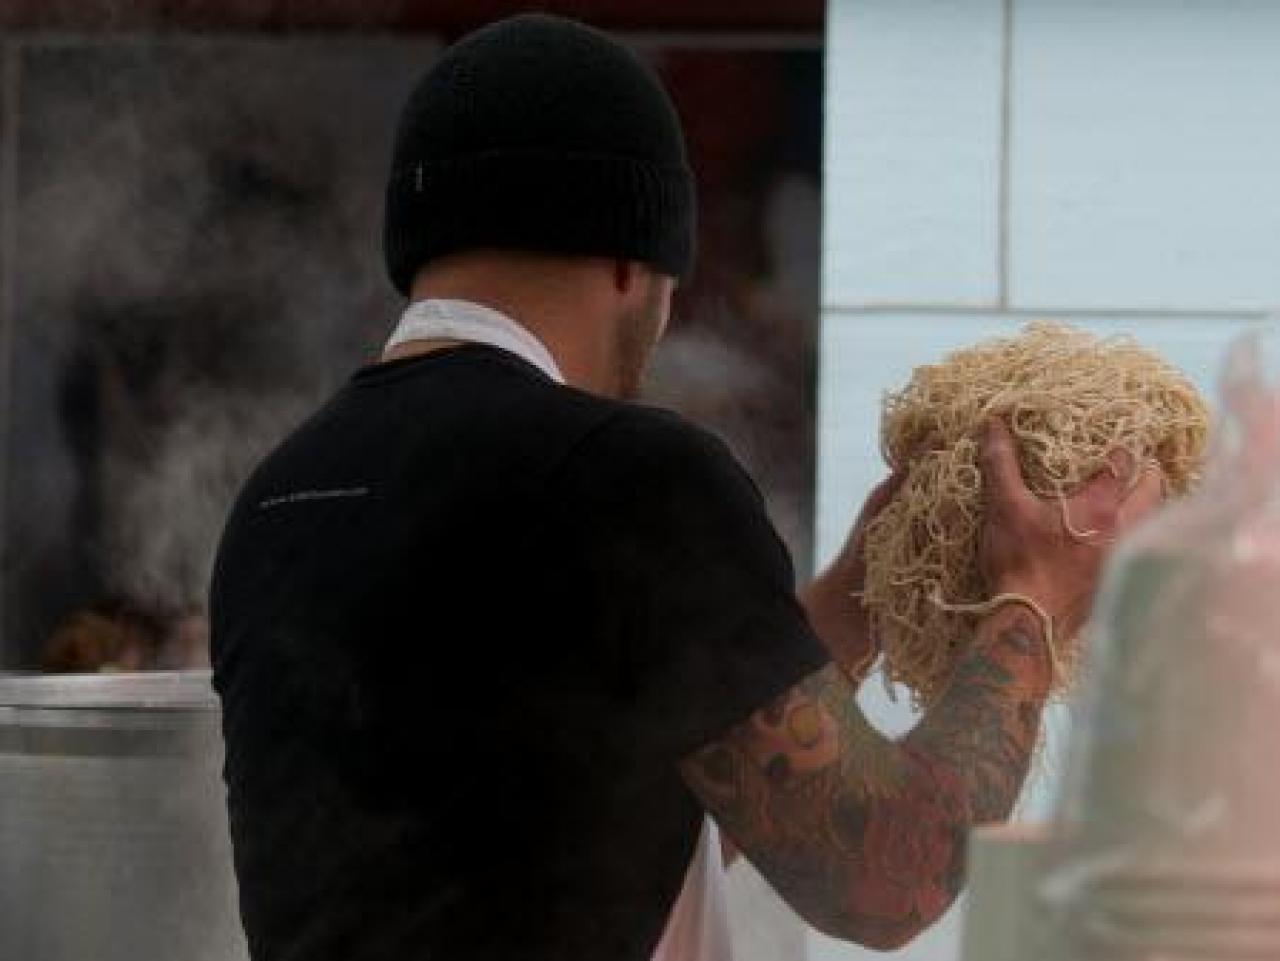
One of the highlights was local chef Richie Nakano. Cribbing from his notes and brandishing his inked arms, he regaled the audience with the saga of how he left a stable kitchen gig to launch his own street food business, Hapa Ramen. On opening day, exhausted from an all-night noodle-making session, faced with missing valves and other logistical problems, Richie was exasperated. But he persevered and went on to become one of the hottest street vendors in the city of San Francisco, as well as one of my more regular lunch treats on market days at the Ferry Building.
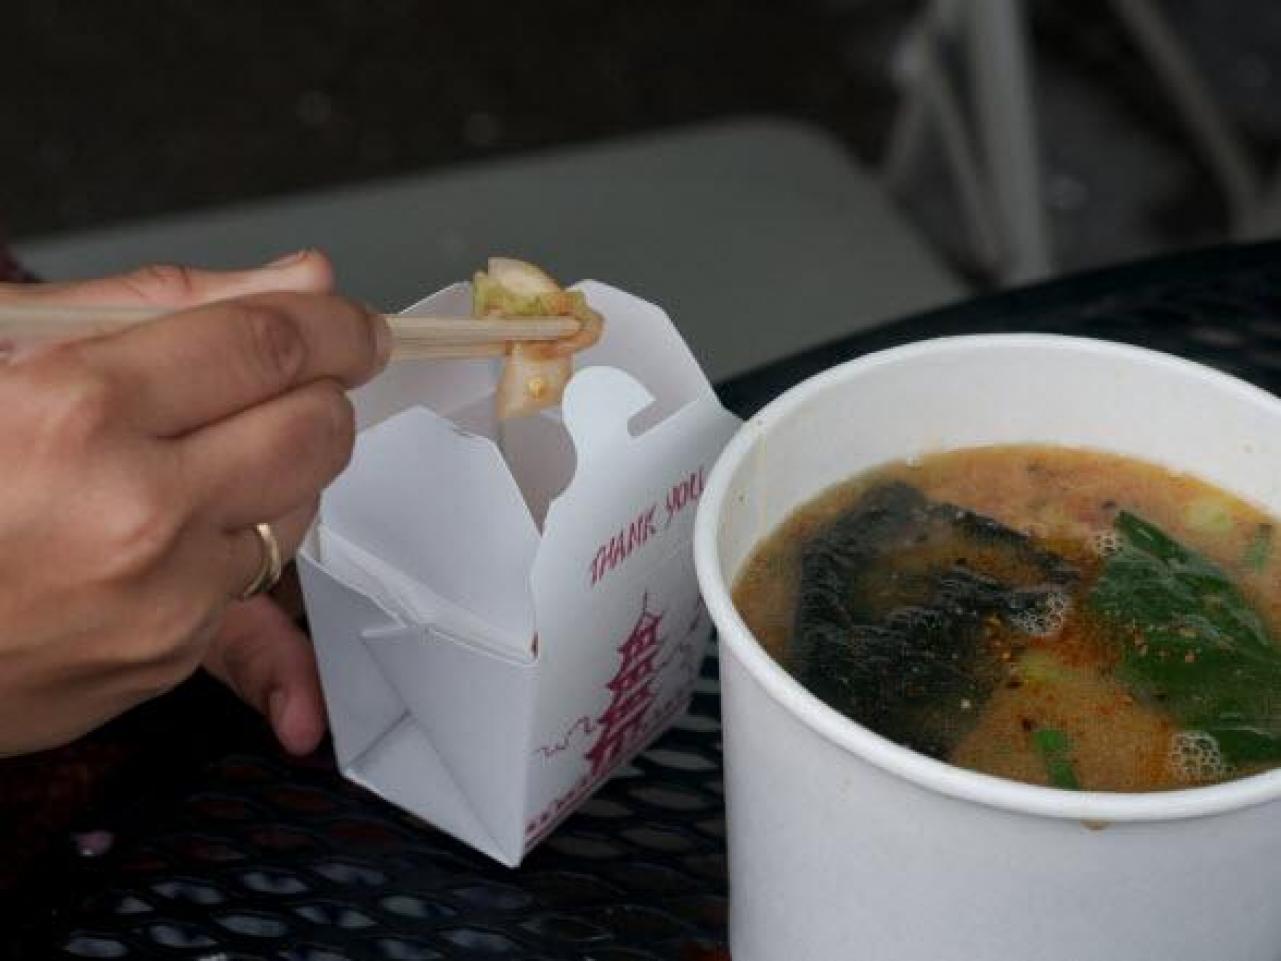
Richie's ramen is worth the trip, for sure, but should you find yourself at his booth, don't forget to order the extra carton of kimchi and pickles for just a buck more. Richie uses seasonal veggies for the pickles, which rest on a bed of salty-spicy kimchi.
I've made kimchi, but his is better, so I asked him about it. "The method is to salt the cabbage, let it sit for 3-5 days, then add in the chili mix and let it ferment until it gets nice and funky," he says. "I've found that the double fermentation and the added rice vinegar helps control things a bit more, and gives the kimchi an almost cheesy quality."
Richie's also not bound to just using the traditional napa cabbage; he recently made kimchi from escarole and apples. "The biggest rule is to not be bound by any specific ingredient or idea. As an L.A. K-Town gang member told me one time, 'You can kimchi anything.' And he had a tiger tattoo on his neck, so i was inclined to agree with him.'"
As would I.

Richie makes 20-lb. batches, but I've scaled the recipe back to be a little more home-friendly. I'm including Richie's original instructions, followed by my translation. Measurements are adjustable; if you want less spice, reduce the chili paste and/or the dry chili to your taste.
Place the cabbage in a large, nonreactive bowl. Add the salt, and toss with your hands, making sure the salt gets evenly distributed. Place a plate on top, and place something heavy on top, like a large can of tomatoes, to press the cabbage. Let stand for 30 minutes to an hour.
Remove the weight and plate. Pour off any liquid that has accumulated in the bowl. Take the cabbage in handfuls and wring any excess moisture from it, then pack it tightly into a sterilized one-quart jar. You should be able to get into one quart. Liquid will release during the packing process; this is normal. Only pour it off if it's overflowing.
Cover the jar with a clean kitchen towel and let rest at room temperature for three to five days. You'll see some bubbles in the liquid, and the cabbage will take on a slightly sour, but not unpleasant aroma.
Turn the cabbage out into a large, nonreactive bowl. Puree the chili paste, vinegar, chili powder, garlic and ginger. Add to the cabbage, add the scallions, and mix thoroughly. Pack the mixture into another sterilized jar, cover with another clean towel and let rest another three to five days. Will keep, covered and refrigerated, for several weeks.
Sean Timberlake is a professional writer, amateur foodie, avid traveler and all-around bon vivant. He is the founder of Punk Domestics, a content and community site for DIY food enthusiasts, and has penned the blog Hedonia since 2006. He lives in San Francisco with his husband, DPaul Brown, and their hyperactive terrier, Reese.


